


Further Hull Encapsulation
After my trip to Port Aransas last weekend, I was hit with a large number of non-boat related tasks which limited the work I could do on the boat. But some work was accomplished. I am getting down to the final tasks before beginning the skin fitting process. These final asks are encapsulation of the sheer, chine, and keel sides and anything else I can do now that will be easier to do before the skins are installed.
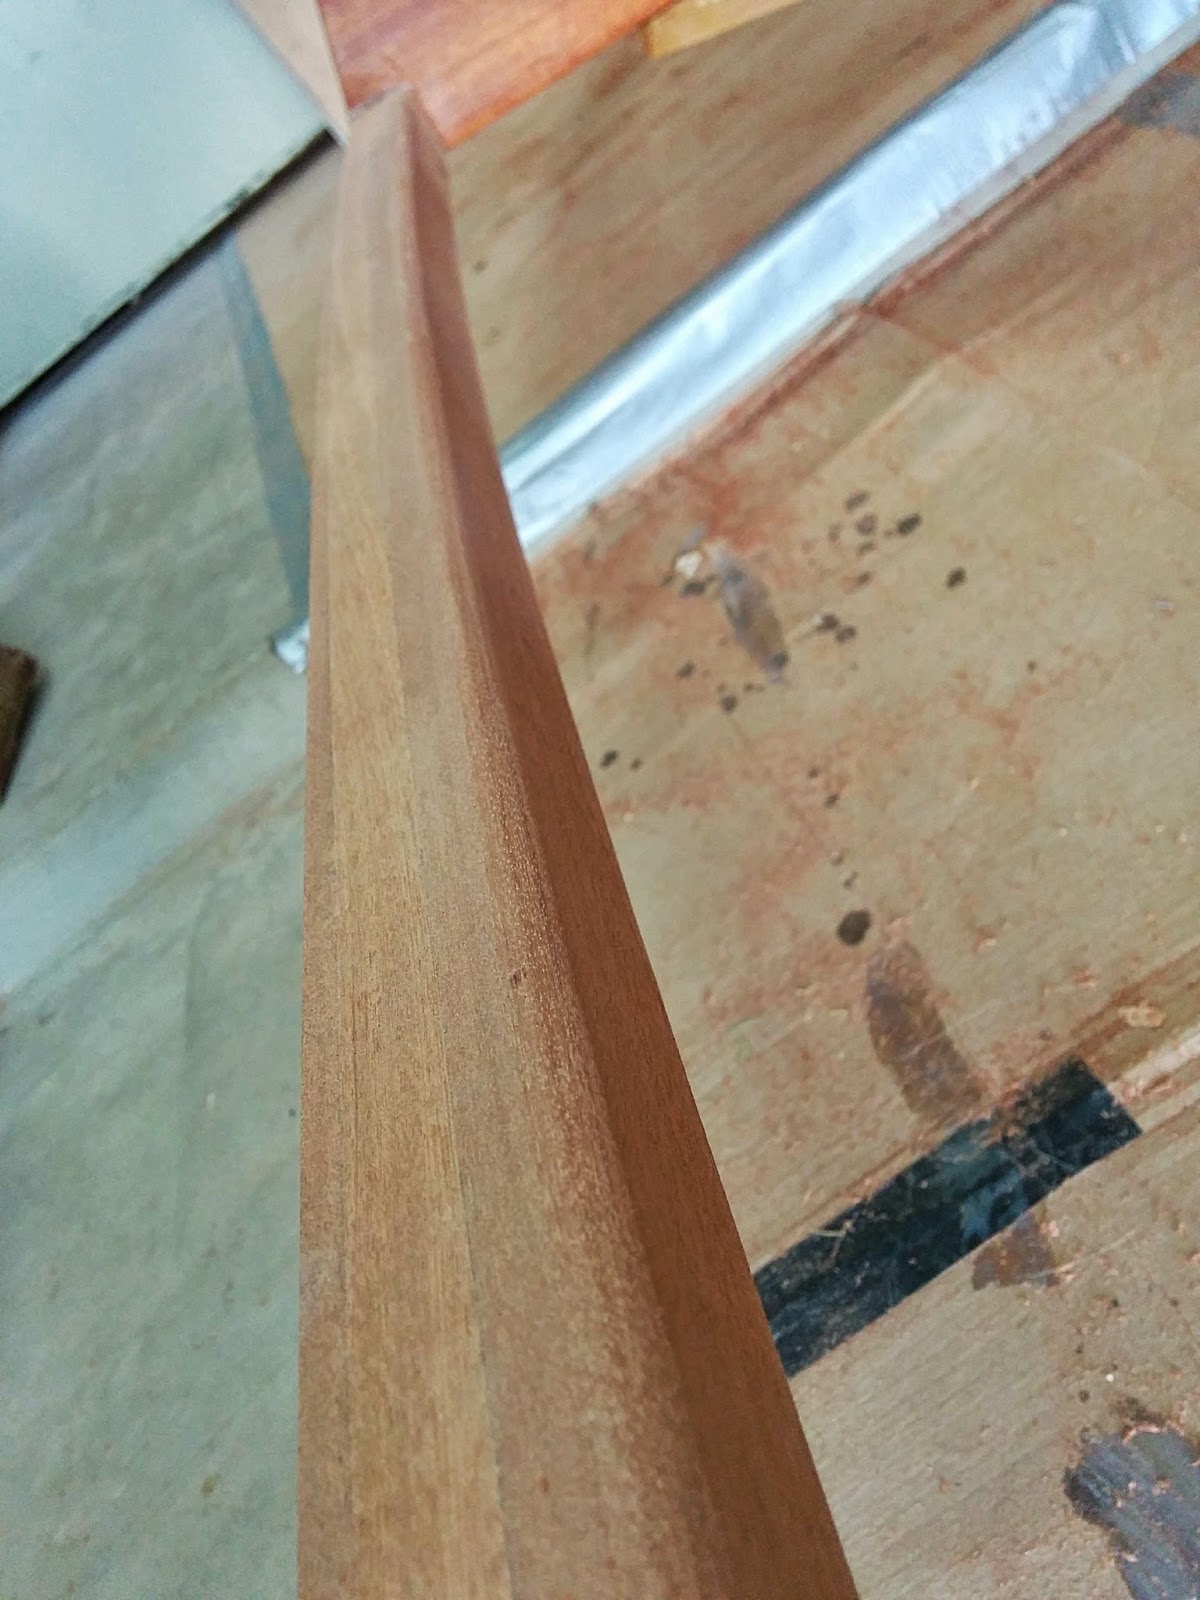
One of those tasks was rounding over the inner edges of the sheers and chines in the forward cabin area. In that section of the interior, the sheers and chines will most likely be visible. I have some ideas about how I want to decorate the berthing compartment that ultimately may hide some of this detail, but in case I dont go with that decorative approach, I wanted to have these longitudinal elements look nice where they are visible. Therefore, rounding over the inside edge was the first task needed. This was accomplish with a round over bit in my router and then an orbital sander at the ends near the gussets.

One of those tasks was rounding over the inner edges of the sheers and chines in the forward cabin area. In that section of the interior, the sheers and chines will most likely be visible. I have some ideas about how I want to decorate the berthing compartment that ultimately may hide some of this detail, but in case I dont go with that decorative approach, I wanted to have these longitudinal elements look nice where they are visible. Therefore, rounding over the inside edge was the first task needed. This was accomplish with a round over bit in my router and then an orbital sander at the ends near the gussets.

I also wanted to smooth sand the edges of the sheers and chines in the areas that are not visible. I wanted to do these primarily so that whenever I might have to go into the areas where these elements are exposed, there will not be any sharp edges. I also happen to believe that the sheers and chine will be stronger at these edge if they are smoothed over rather than at a sharp edge. This is because any stress points at the sharp edges will be spread out over a larger area. Probably overkill, but if I can prevent the chine or sheer from splitting at some future point because of this effort, then its worth it.
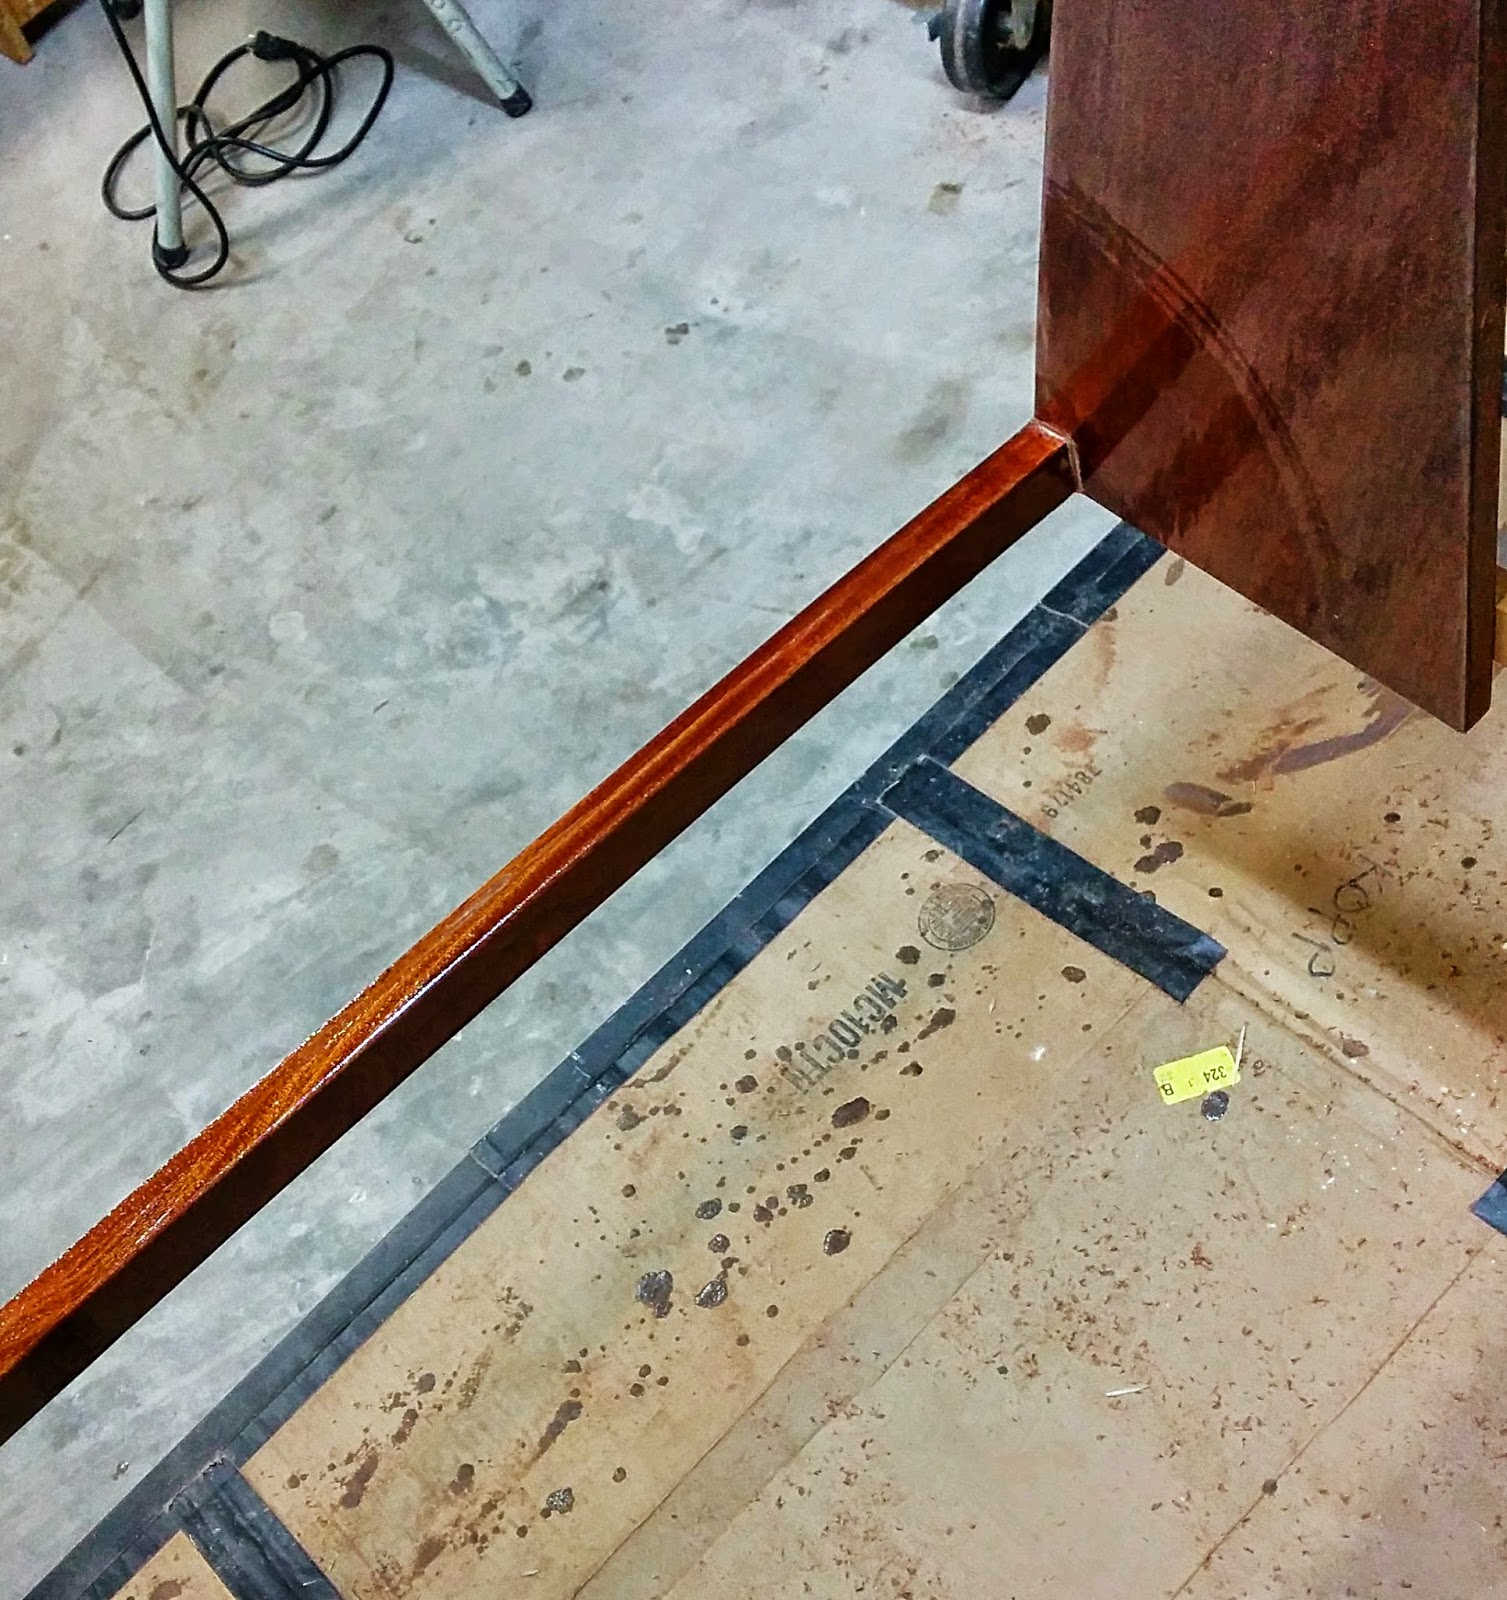
The remainder of my free time this week has been spent applying multiple coats of epoxy on the sheers and chines. Like the frames, I want a minimum of three coats of epoxy on them. Eventually almost all of this will be painted and the paint will provide the first barrier against water and the epoxy will be the backup protection.
Interestingly enough, when I have shown encapsulated hull components to people, they are always surprised when I tell them that I will be painting over the epoxy. In the photos, the epoxy is shiny and makes the wood look like furniture. But in reality, the finish, while clear and fairly smooth, is not furniture grade smooth. Epoxy just doesnt lay down like that regardless of how careful I am. Furthermore, most of this structure will not be visible once the boat is completed. So I would rather paint it and protect it further. The paint will be a light color (probably white) which will also make it easier to see and clean out debris that will eventually accumulate in the lower hull.
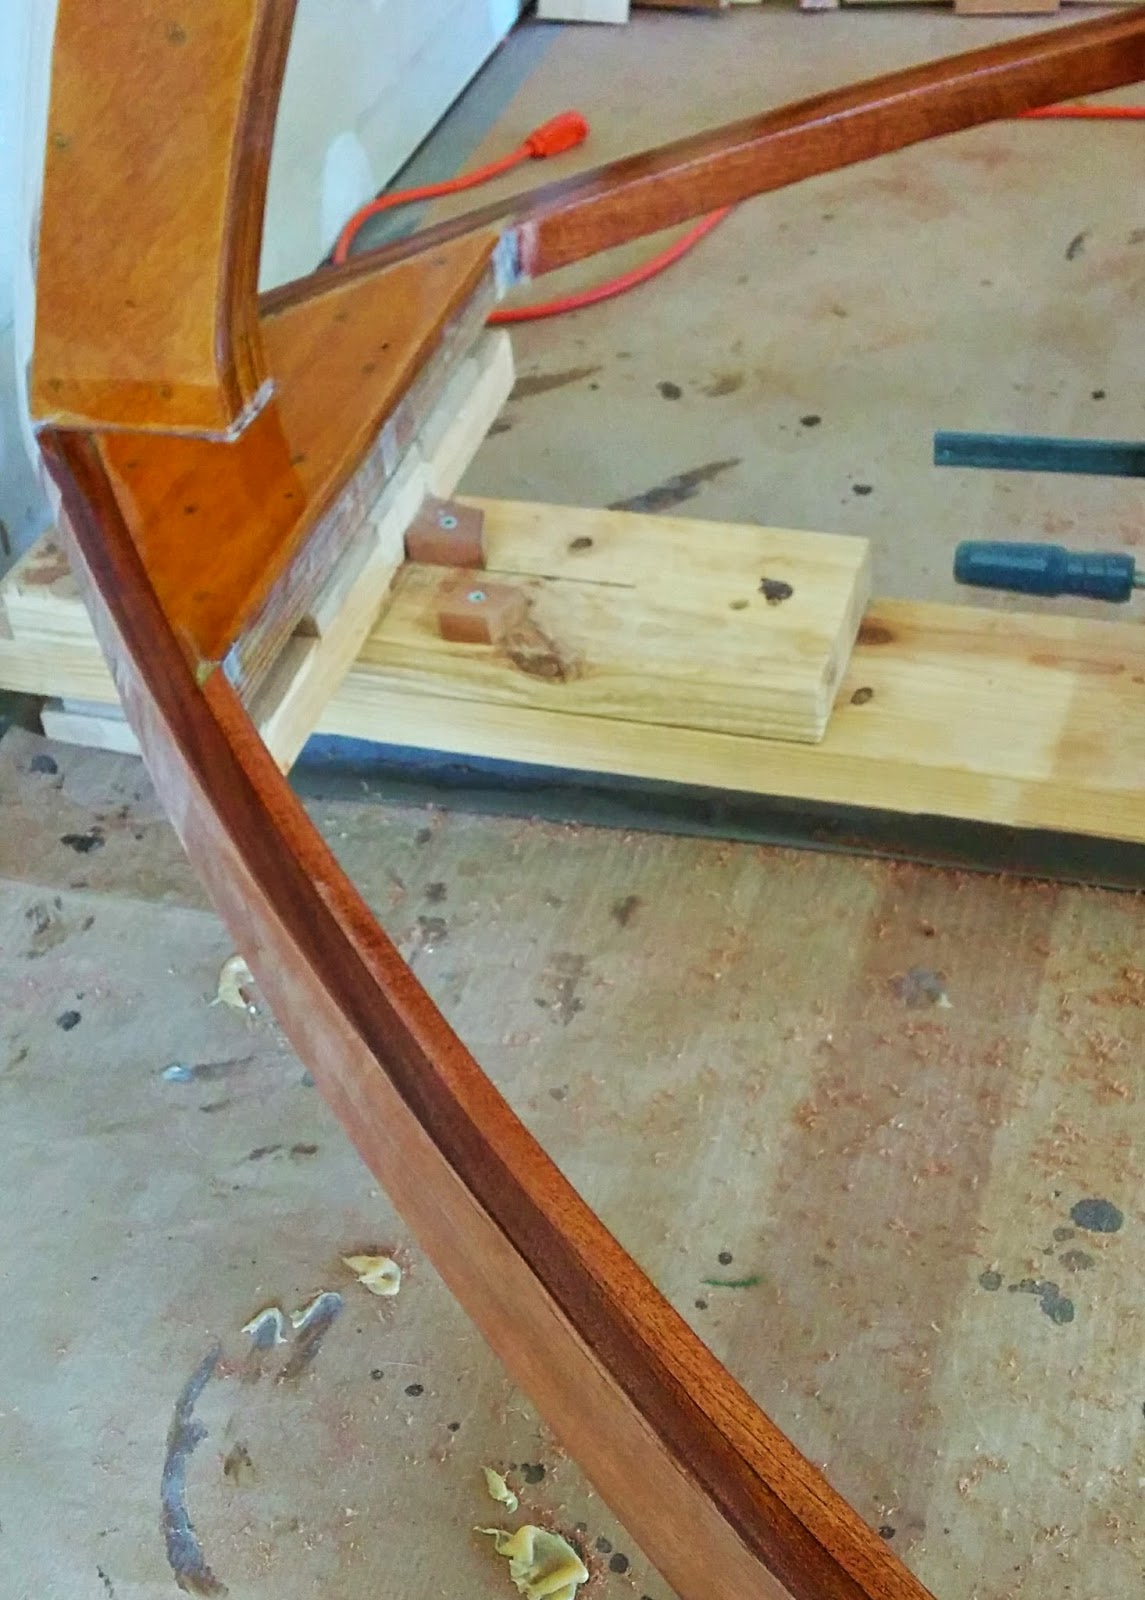
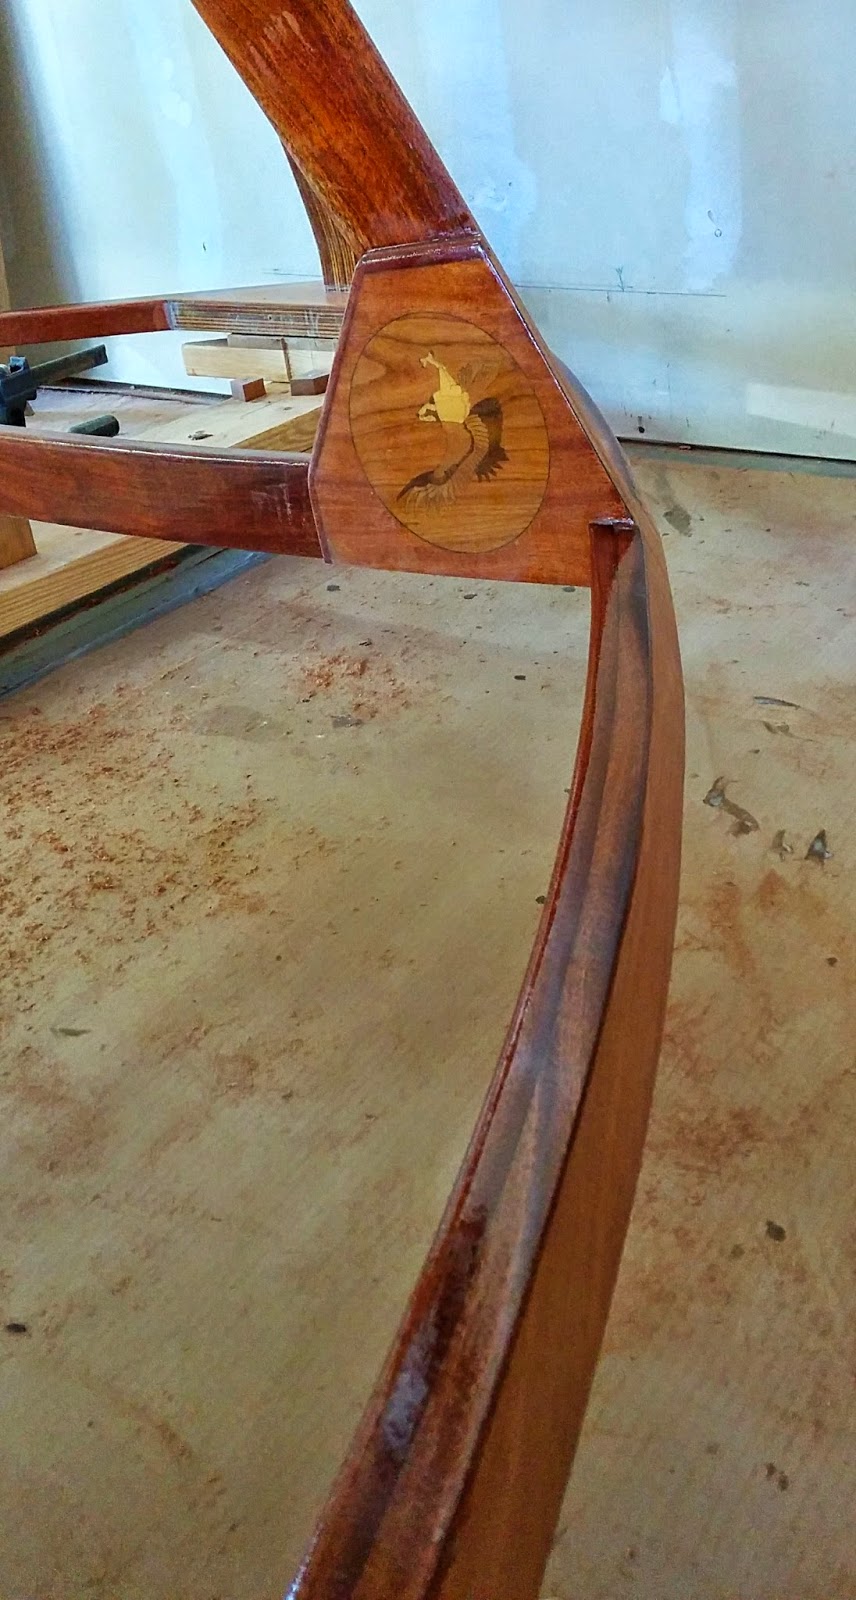
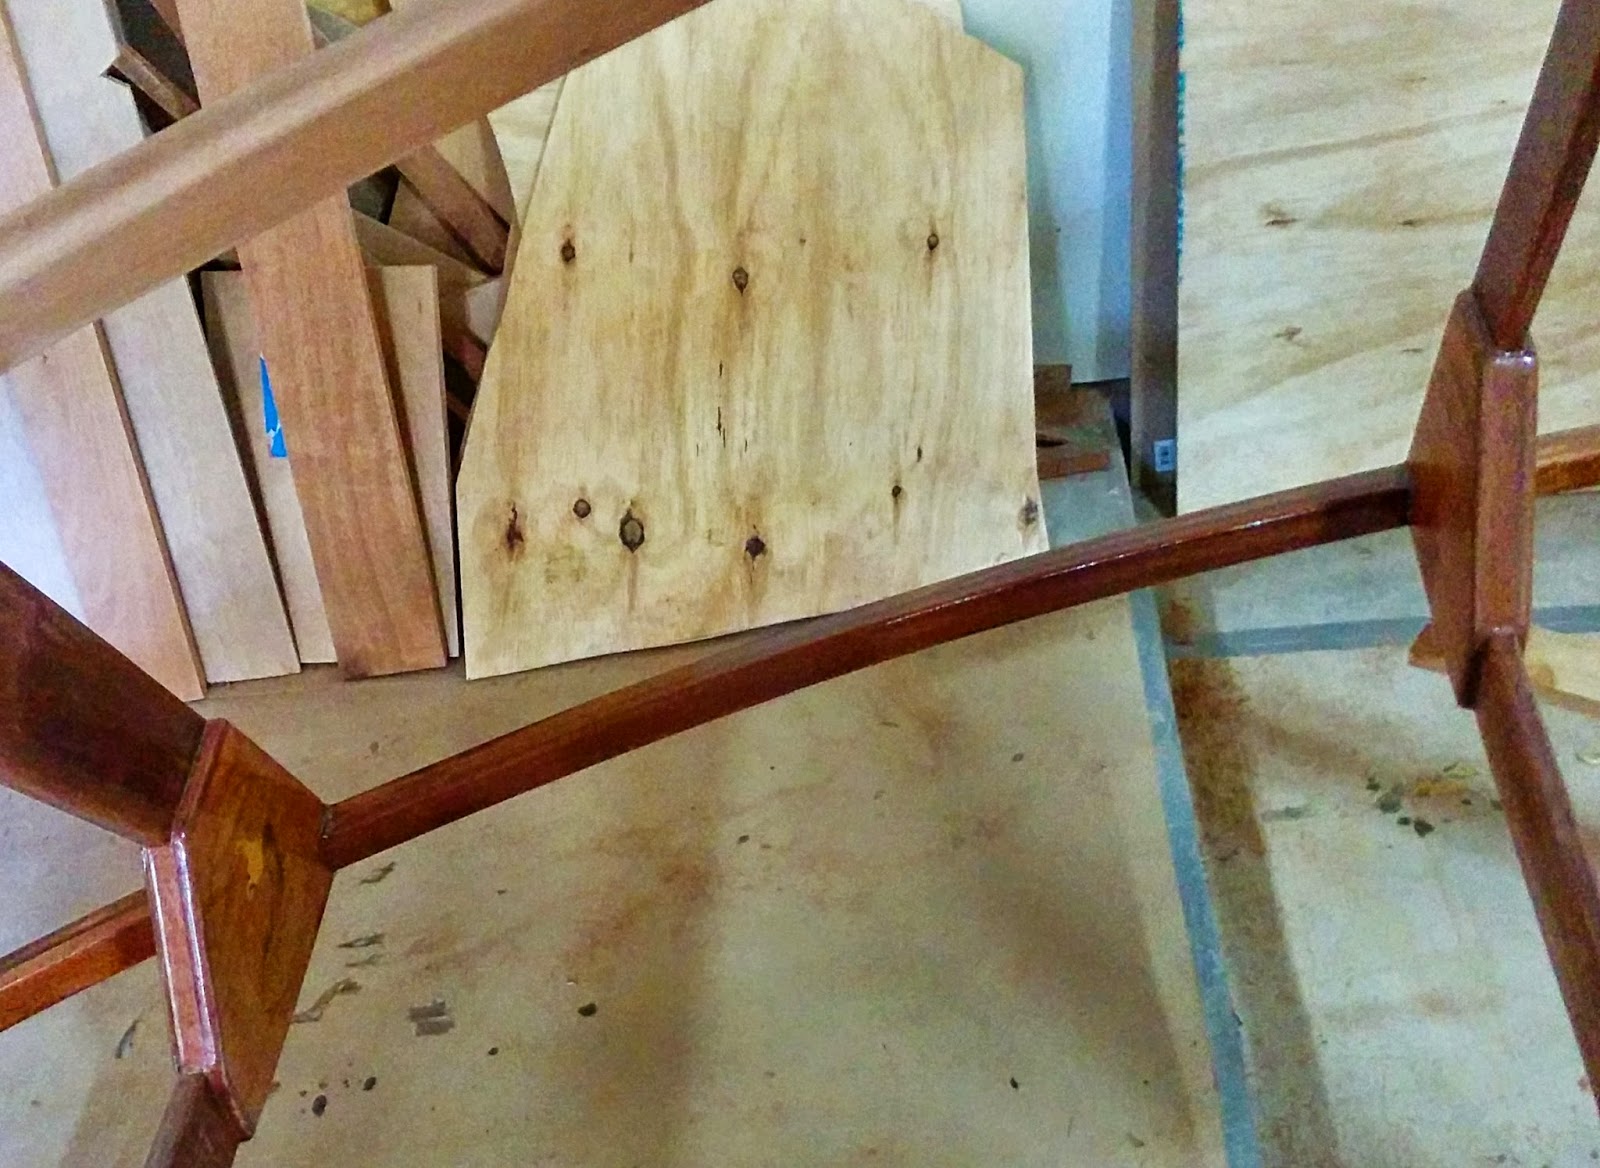
Here are some more shots of the longitudinals during the encapsulation process.


In the shot above with the breasthook, I am still planing on adding an additional piece on the aft end of the breasthook. Therefore, this edge is not being encapsulated.
The rounded over sheers are shown in the next photos after the first coat of epoxy. It has been my experience so far that the initial coat of epoxy will form tiny bubbles even if initially smooth. I assume this is from trapped air in the pores of the wood grain. This coat will need a smooth sanding before application of the second and third layers of epoxy. These sections of the sheer, if left exposed (as mentioned previously), will also get a smoothing with steel wool and a coat or two of varnish when the boat is nearly completed.


In other news, I am in the process of locating a source for the plywood skin panels. I have received some responses with quotes. I will be evaluating these and placing the order for the plywood in the next day or two. Depending upon the estimated delivery date, I may delay ordering for a few extra days to give myself time to complete the remaining pre-skinning tasks. The plywood is going to take up a lot of room in my garage so I dont want to get it until I am ready to work with it.
So thats it for this week. I will be wrapping up the encapsulation and preparing the garage for the skinning process. Until next time, take care.
Subscribe to:
Post Comments (Atom)

0 comments:
Post a Comment